The USS Liberty Incident:
Photographs
USS Liberty
:
Table of Contents
|
History & Overview
|
Investigations
Click Left/Right to Scroll
Blast Area-Document Bags
‹
›
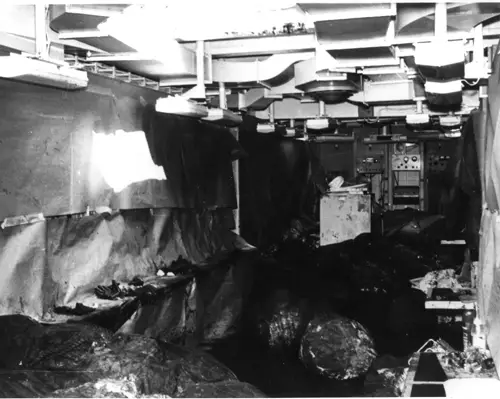
Blast Area Clean-Up Operations
‹
›
CDR and Staff Confer Post-attack
‹
›
CDR McGonagle Inspects Bridge
‹
›
CDR McGonagle Inspects Damage
‹
›
CDR McGonagle Israeli Bullet
‹
›
CDR McGonagle Reflects on Attack
‹
›
CDR McGonagle Surveys Damage
‹
›
Clean-up Operations of Blast Area
‹
›
Damaged Machine Gun Mount
‹
›
Damaged Signal Light on Bridge
‹
›
Fire Damage Port Side Amidships
‹
›
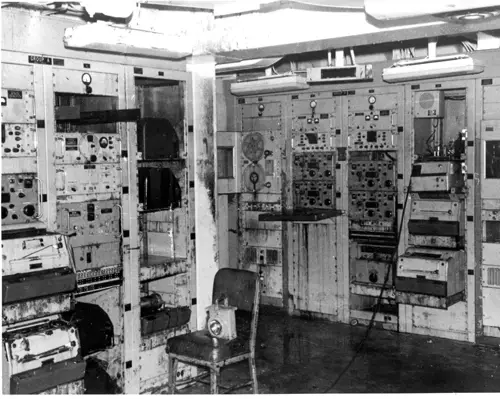
Maintenance Area Clean-up
‹
›
Maintenance Blast Area
‹
›
Pierside Malta2
‹
›
Pierside Malta3
‹
›
Portside Shock and Water Damage
‹
›
Ships Bridge was Clobbered
‹
›
Shock Damage Above Torpedo Hit
‹
›
Spattered by Isreali Gunfire
‹
›
Torpedo Hole from Drydock Floor1
‹
›
Torpedo Hole from Drydock Floor2
‹
›
Torpedo Hole from Drydock Floor3
‹
›
TRSSCOM Antenna Little Damage
‹
›
USS Liberty in Drydock
‹
›
Main Blast Area
‹
›
Pierside, Malta
‹
›
Primary Blast Area
‹
›
Sources
:
Library of Congress Prints and Photographs Division
;
Israel Daily Picture
Back to Top